Airbrushing a Traxxas Slash Body
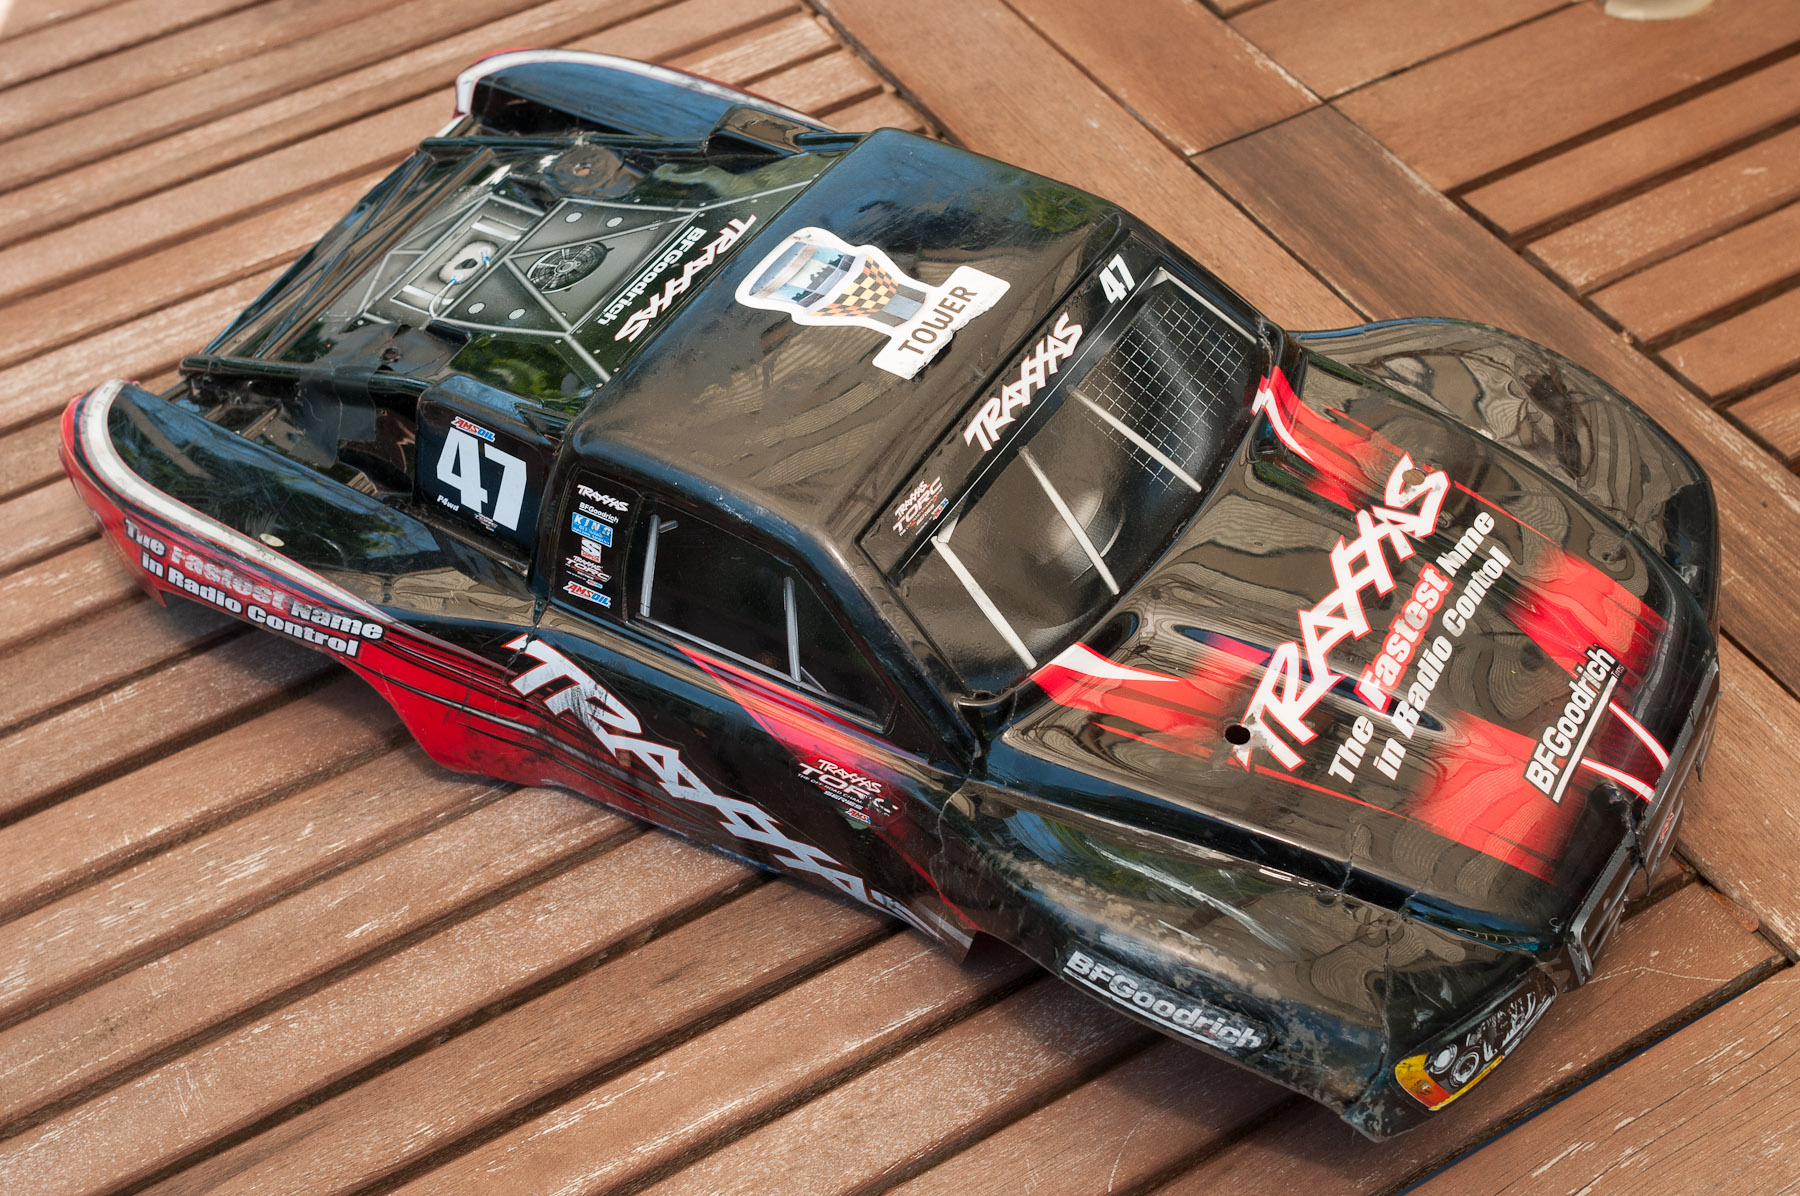
The original body for my Traxxas Slash has been in poor condition for quite some time and now has so many cracks in it that it’s literally falling apart. I decided to airbrush a new body. I have previously used an airbrush, but not in quite a few years so I have been practicing before attempting to paint a body. I’ve also never painted a lexan body before — where it’s necessary to paint on the inside of the body, laying paint down in reverse order.
I’ve had an elaborate idea for a paint scheme in mind for quite a while, however after thinking about exactly how to do it I’ve realized that I don’t yet have the skills to execute it. I decided to try a simpler paint scheme first — after all, the original body was falling apart and I really just needed a replacement. This is the simpler paint scheme.
I dove into the paint job and quickly realized a few mistakes, and other mistakes weren’t obvious until I was much further along. This is the first lexan body I’ve ever completed so I feel pretty good about how well it came out; on the other hand I’m a perfectionist and like to think I have some talent and skill with this stuff, so I’m disappointed with the result. In case it helps others, what I’ve learned:
My workshop area is very dirty. I knew it was dirty, of course, but really wasn’t thinking about it when I started painting. The blue stripe is what I painted first and during the process I could see the airbrush catching dust particles and splattering them against the body, creating some weird (and undesired) pucker marks. From now on, I just went outside to paint. Despite leaves and pollen floating by, outside proved a very clean environment to paint in.
Concave surfaces catch a lot of overspray. I masked relatively small areas when I started painting the blue stripe, and as I moved on to other colors I realized that the blue was splattered over much of the body. I tried to clean up what I could see and thought I did a good job. However after backing the body with white and pulling off the body’s blue-tinted protective film I realized just how much overspray there was and how poor a job I did cleaning it off. The solution is simple, of course: mask everything. With large pieces of tape this is easy.
I should have experimented more with color blending and the order in which colors are laid down, and I should slow down more to be sure I’m using the colors in the correct order. I intended the red to be a bit more orange. I should have painted the transparent yellow first, then backed it with red. The red doesn’t look bad, I just wanted more subtlety. Additionally, my hand wasn’t quite steady enough when adding the red fade above the blue so I had to “correct” it by making it thicker than I wanted, which also caused it to cover more area than I intended. More practice and using a guide would let me create a straight and thin line more easily.
When nearly complete I noticed some spots that I think must be fingerprints. When changing masks I’m sure I touched the lexan with my fingertips. I’m not sure if wiping the body after handling it would be enough to remove the marks, or if I should just wear gloves while handling it. The marks left behind are minor, but on a better paint job would stand out more.
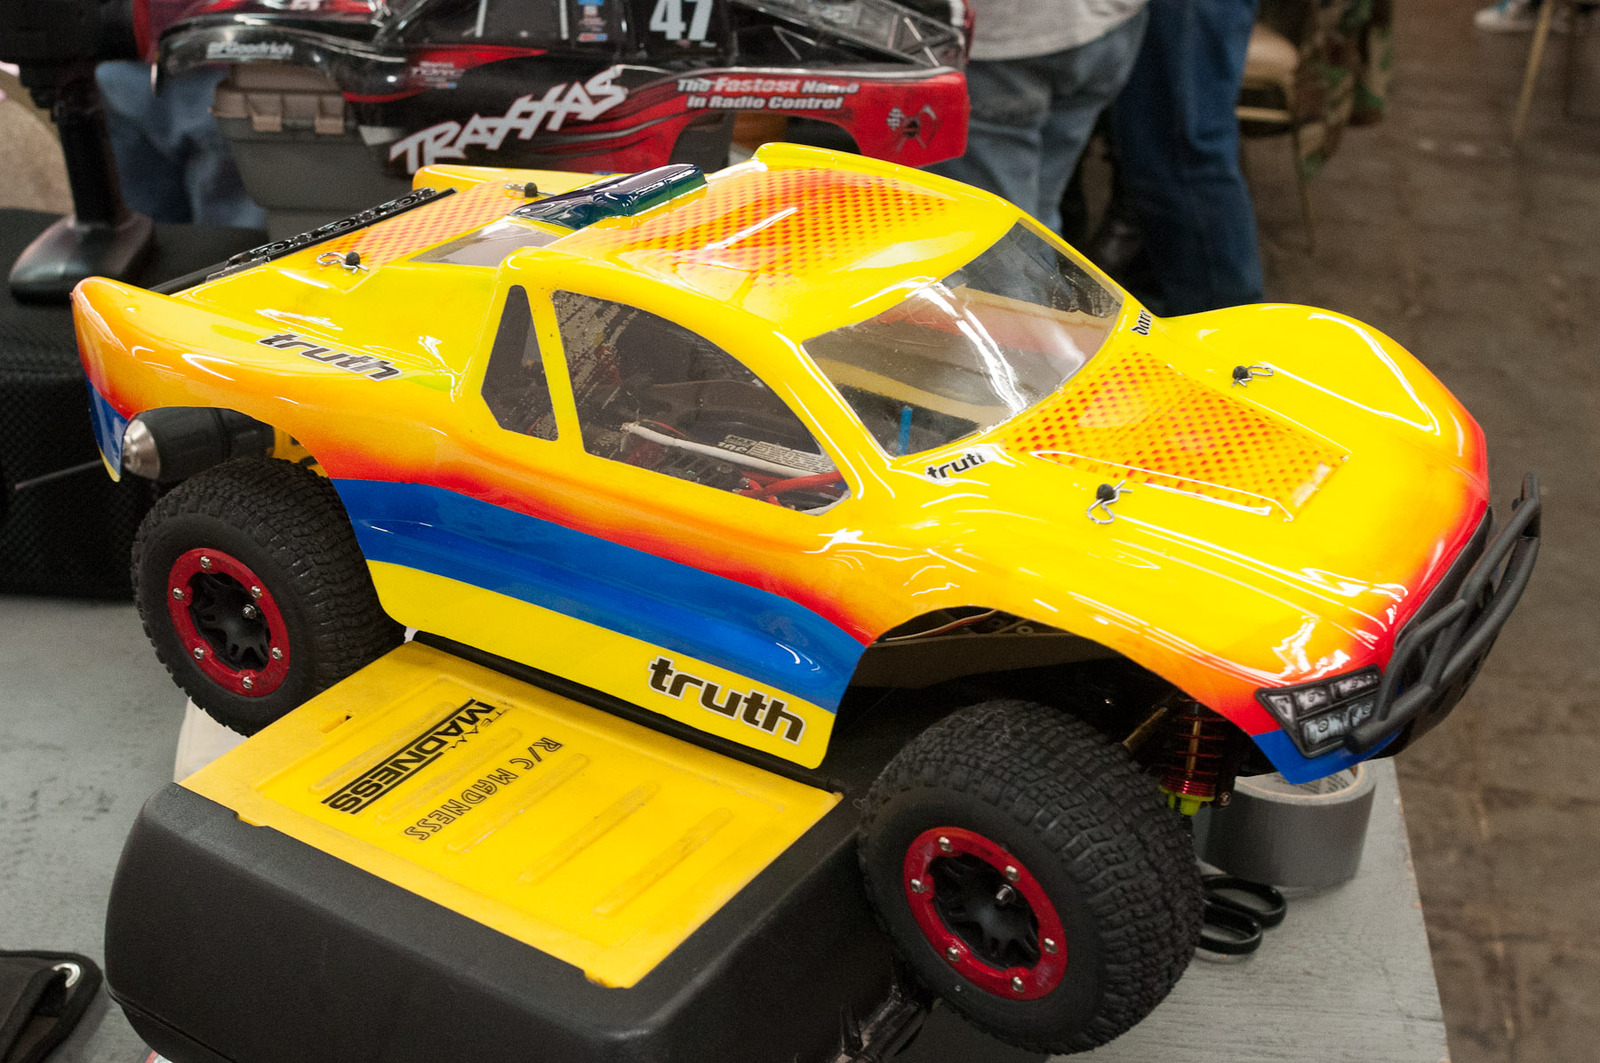
In the end, however, I guess it turned out ok because I received a number of compliments and questions about it while at the track last night. The most-asked question was how did I create the red pattern on the hood, roof, and back of the truck. I simply used a router pad as a mask and held it in place while spraying.
Share Your Thoughts (